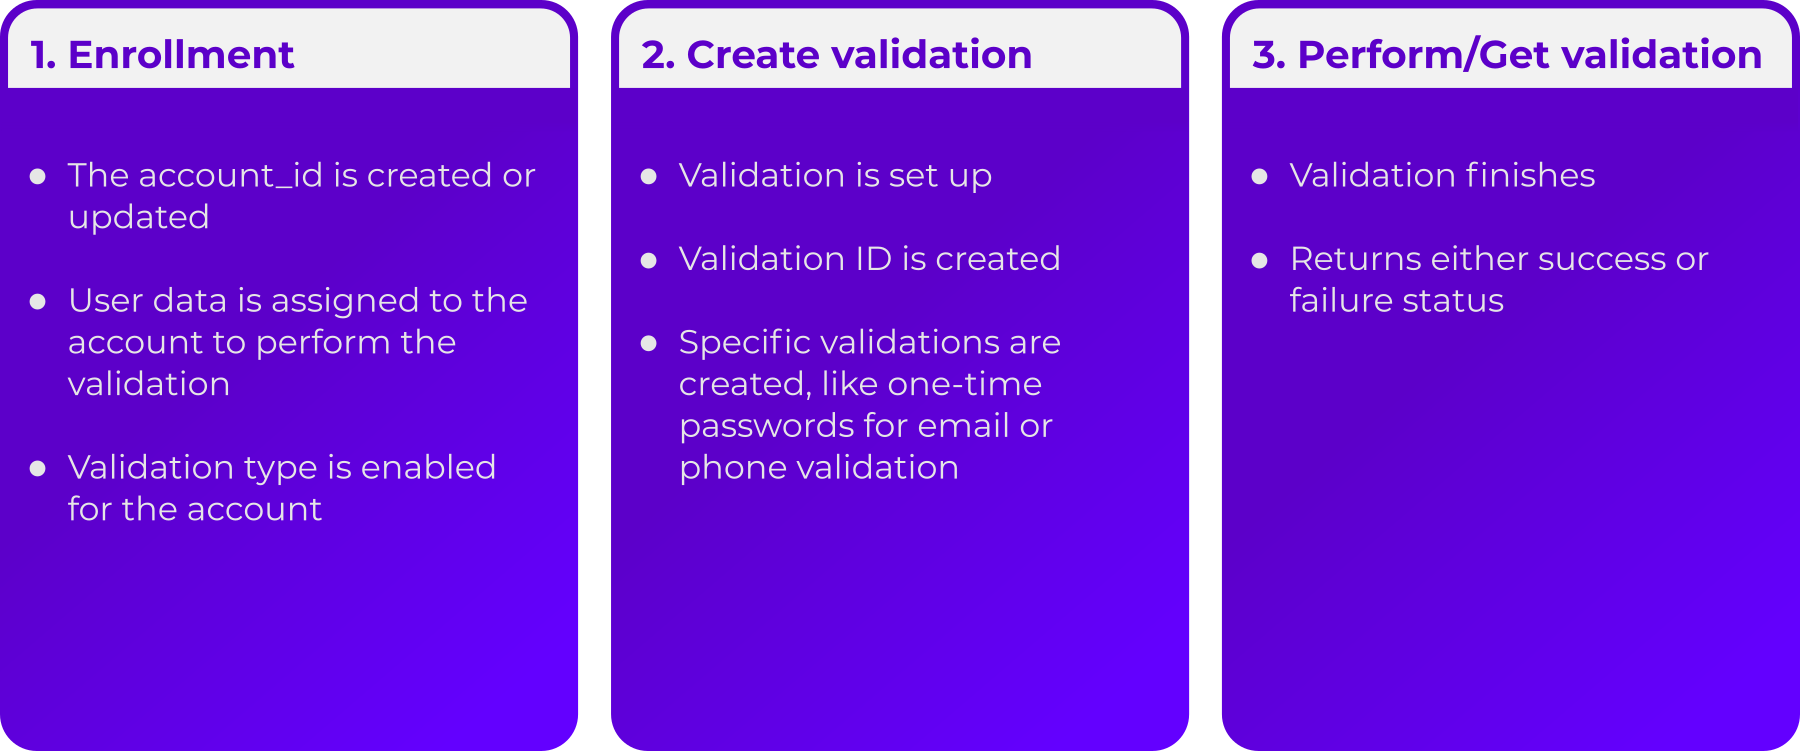
Validation steps
Every validation process is different as it requires different data and validates different aspects of identity verification. However, Truora validations are designed to be as similar as possible to flatten the learning curve of switching from using a validator to another. Hence, These three steps are part of all validations:
A full list of the steps for validations and their description can be found below:
Validation Account Creation
This step is not mandatory, however, we strongly recommend creating at least one validation account in order to allow you to easily keep track of validations. Also, information provided during account creation can be used across several validations without the need of entering each time.
Account Enrollment
This step links an account with a validation type, if no validation account is provided, a new one will be created and linked. According to the validation type, different fields will be required. For instance: the phone number for phone validation, country and document type for document validation and so on.
Uploading Endpoints
For Facial recognition, Document validation, and voice recognition, an additional step is required to upload sample files at this point. To send these, a link is provided in the response of either the enrollment or validation creation and must be sent in a PUT request in binary format. We have a guide for sending document pictures to the endpoint.
Validation Creation
During this step, the information for the validation_ID is created and most processes regarding the validation are performed. For instance: one-time-codes are created, security questionnaires are formulated and so on.
Get/Perform Validation
During this step, the validation result is obtained by using the validation ID created during validation creation. The response includes a status indicating whether the validation was successful or not. A successful validation means that the process was completed successfully and the identity of the person was successfully verified. A failure status means the identity was not verified, the reason why is shown in the field failure_status. A declined failure_status means that the process was completed successfully and the identity validation did not meet the required parameters to verify the person’s identity.